Create a Template
The template defines the structure and content of your waiver forms. Here, you specify the title and the text that your users must comply/sign in order to use your service as well as, the information that they must provide.
From the Template Management Screen, you can create and delete your templates.
To create a template, access the Template Management Screen from the Templates menu options and select the ADD NEW TEMPLATE button. Then, you will be asked to provide a name for the template and to select a predefined configuration. The predefined configurations is a helpful way to kickstart your template structure. You have three options:
- Blank. You will start with an empty template in order to populate it and structure it the way you want.
- Simple. You will start with the most common template structure, which contains the Title, Text, Name, Email and Signature elements.
- Full. You will start with a template structure that contains every available element.
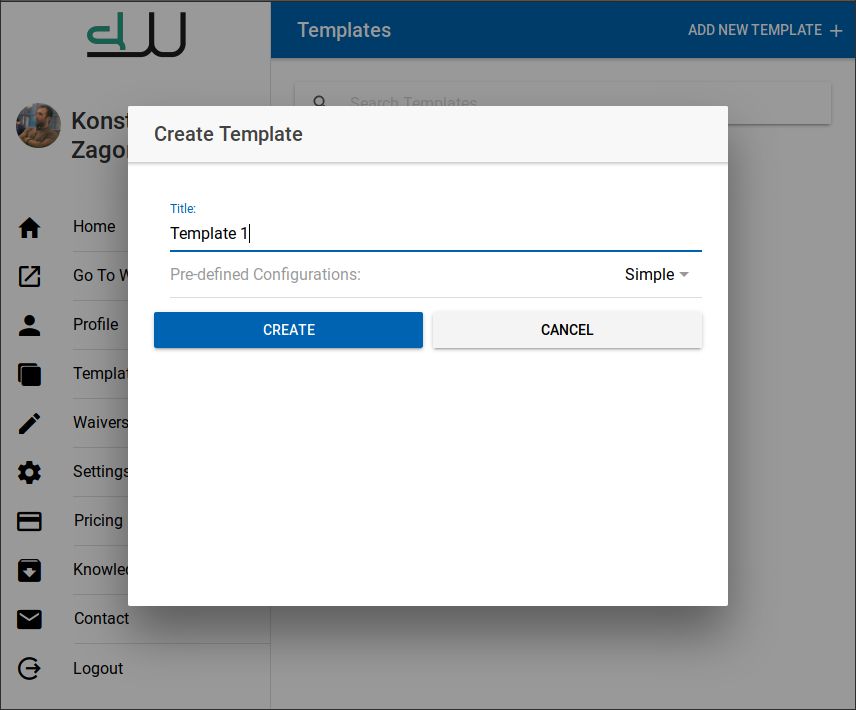
You can populate and structure your template by adding elements by pressing the button. Currently, you may add elements from two categories types: Information and User Input.
Information elements convey message to the form applicant and contains the following elements:
- Title
- Text Area
You can define the Information elements contents by pressing the edit button for both the Title element:
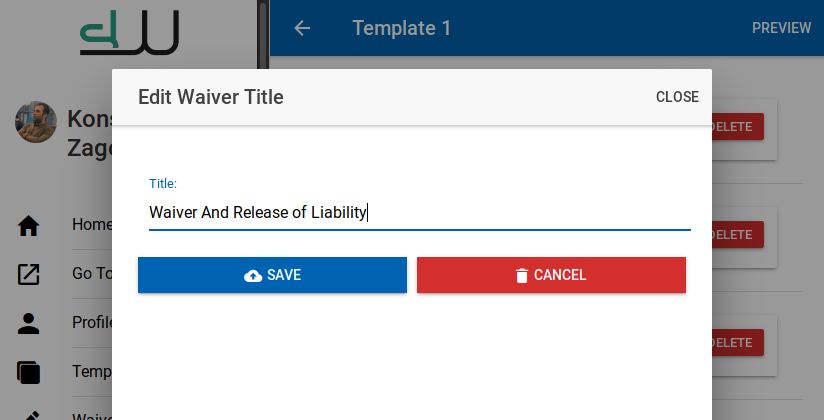
and the Text Area element:
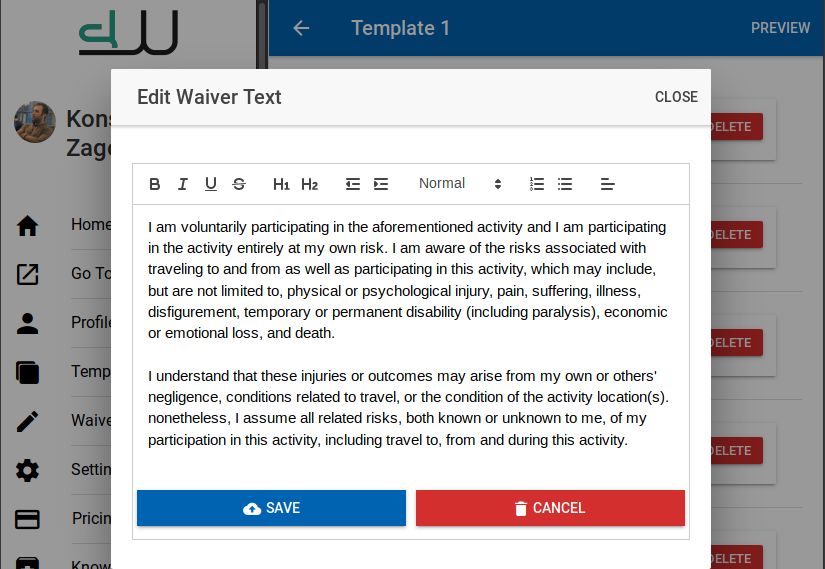
User Input elements gather information from the form applicant and contain the following:
- Name
- Age
- Date
- Address
- Signature
Moreover, you can rearrange the elements’ order of appearance by drag and drop the elements cards. You can preview your current waiver form by pressing the preview button:
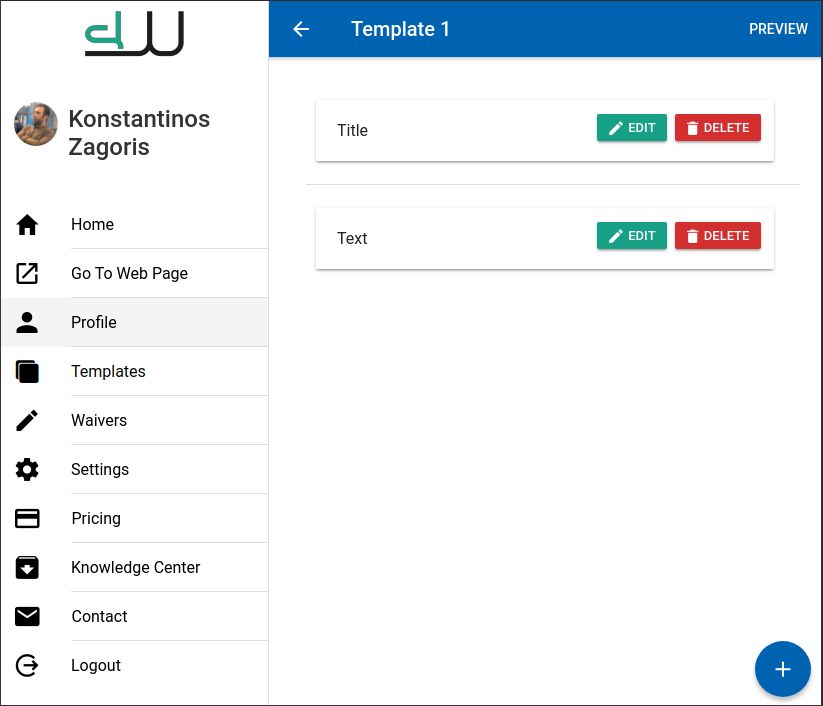
Please note that you do not need to save your work. Every action you perform is saved automatically and synchronized between every authorized login to your sWaiver account.